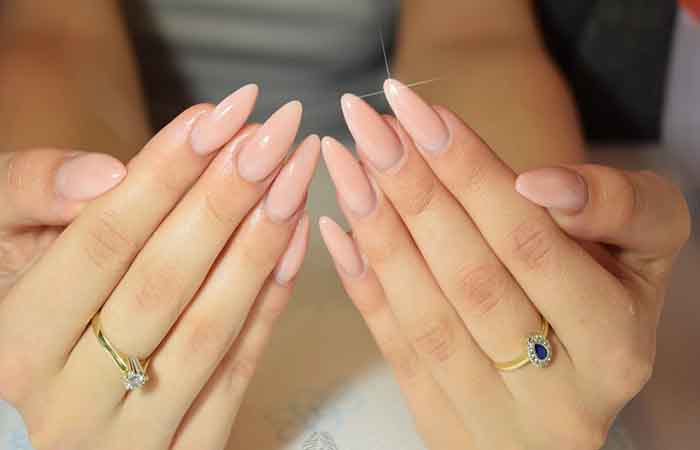
How to Do Almond Nails at Home?

Stylish and trendy almond nail designs continue to be one of the most popular nail shapes in 2024. This simple yet trendy nail shape adds a touch of sophistication to any manicure. Whether you prefer short or long almond nails, there are plenty of almond nail designs you can try at home to complement your personal style.
To achieve stylish and trendy almond nails at home, you’ll need a few basic tools: a nail file, nail clippers, a cuticle pusher, a buffing block, and your choice of nail polish or nail art supplies.
Follow these simple steps to create gorgeous almond-shaped nails:
Step 1: Trim Your Nails
Start by trimming your nails to the desired length, keeping in mind the almond shape you want to achieve. For short almond nails, opt for a length that doesn’t extend too far past the tip of your finger.
Step 2: File Your Nails
Gently file the sides of each nail into a tapered shape, gradually tapering towards the tip. Be sure to file in one direction only to avoid splitting or damaging your nails. If you have good skills, an electric nail file can also be a good choice.
Step 3: Clean Your Nails
Use a cuticle pusher to gently push back the cuticles, creating a clean and neat nail bed. Then, use a buffing block to smooth the surface of your nails, ensuring a polished and even base for your chosen nail design.
Step 4: Paint Your Nails
Now you’re ready to create stunning almond nail designs! Express your personality and get creative with nail art. Or say “Hello” to a new take on a classic with gel polish set. French manicures never go out of style and are a perfect match for almond-shaped nails!
Read also: Choosing the shape of nails according to your hands


