How to apply your varnish?
We all want to have beautiful hands. But as soon as you start applying your nail polish yourself, it’s a nightmare! Don’t panic! Now your expert nail supplier Maryton will offer you 6 steps to nail polish yourself.
Step 1: Cleaning
First of all, you have to start by removing the varnish that you already have on your nails. Apply a square of cellulose soaked in nail polish remover, leave on for 10 seconds and remove. Even if you don’t have polish, it is still recommended to clean the nails.
Step 2: File and polish the nails
Trim your nails, using a nail file, working from the outside to the center. You can opt for a round or square finish according to your desire. Then, smooth the surface of your nail with a polisher.
Step 3: Push back the cuticles
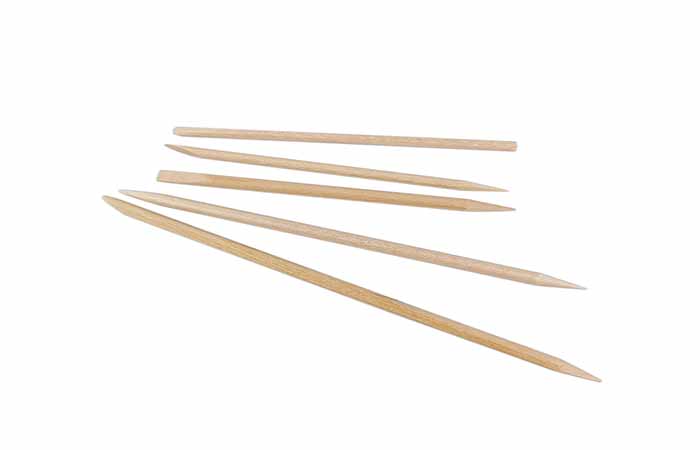
The cuticles are small skins at the base of the nail. To repel them, they must first be softened. Soak your hand for 5 minutes in warm water with a little lemon juice. Dry your hands. Then push them back with a cuticle stick.
Step 4: Apply a protective base
Before applying the varnish, you must apply a transparent base coat to protect the nail, and for better hold of the varnish. Make sure that the layer is thin, so that the varnish is not too hard afterwards, and peels off.
Step 5: Application of varnish
Your nails are finally ready for nail polish! The varnish will be applied in two coats for better color rendering. Before starting the pose, take your bottle of varnish and roll it between your hands to warm it up.
Step 6: Finish with a clean finish
To finish your pro manicure, meticulously clean the outline of the nail with a flat brush soaked in nail polish remover. Once your nail polish is completely dry, apply a layer of top coat for a better shine and an extension of the beauty of your manicure.
We hope you enjoy this article! To get all the necessary equipment, I advise you to invest in a complete manicure kit! To help you in your choice, I invite you to visit our website.
Read also: How To Treat Fragile Nails?


